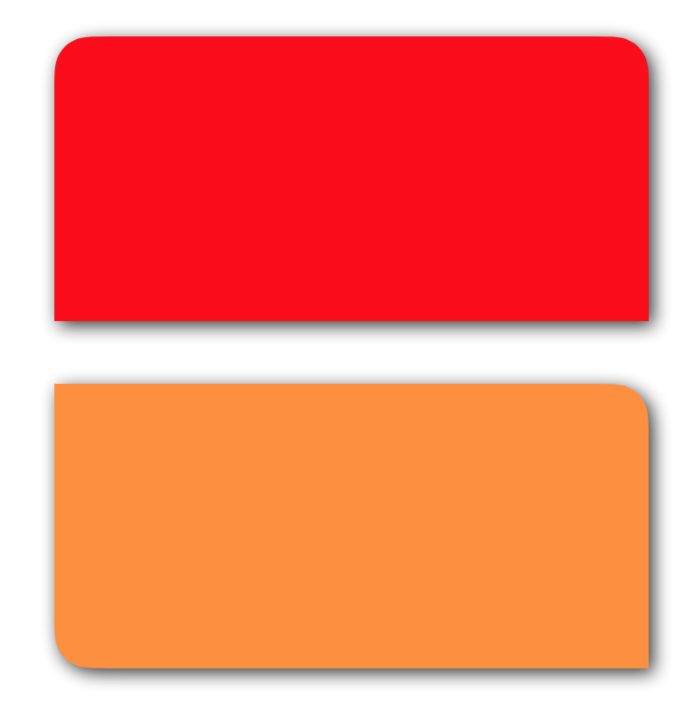
CAShapeLayer and UIBezierPath we can easily add shadow and corner radius to UIView and the class derived from it like UIButton, UIImageView, UILabel etc.We will add
UIView Extension and the good point of this is, you only need to write just one line of code to achieve this.Bonus point: you can round specific corner as well Just add below
UIView Extension in your project:
import UIKit

extension UIView {

    func addShadow(shadowColor: UIColor, offSet: CGSize, opacity: Float, shadowRadius: CGFloat, cornerRadius: CGFloat, corners: UIRectCorner, fillColor: UIColor = .white) {

        let shadowLayer = CAShapeLayer()
        let size = CGSize(width: cornerRadius, height: cornerRadius)
        let cgPath = UIBezierPath(roundedRect: self.bounds, byRoundingCorners: corners, cornerRadii: size).cgPath //1
        shadowLayer.path = cgPath //2
        shadowLayer.fillColor = fillColor.cgColor //3
        shadowLayer.shadowColor = shadowColor.cgColor //4
        shadowLayer.shadowPath = cgPath
        shadowLayer.shadowOffset = offSet //5
        shadowLayer.shadowOpacity = opacity
        shadowLayer.shadowRadius = shadowRadius
        self.layer.addSublayer(shadowLayer)
    }
}
self.myView.addShadow(shadowColor: .black, offSet: CGSize(width: 2.6, height: 2.6), opacity: 0.8, shadowRadius: 5.0, cornerRadius: 20.0, corners: [.topRight, .topLeft], fillColor: .red)
UIBezierPath using size and corners2: Assign this
UIBezierPath to CAShapeLayer3: It’s background color of
UIView, default is white4: This is shadow color, change it as per your uses
5: This is shadowOffset change is as per your uses

Read our next Article: Reasons for deinit never called and how to fix them Swift
Hi !
If I use this function in UIImageview, the image isn’t “clipsToBound” and it is behind the shadow layer.